After a little hunting I found an open-source version of PyMOL for M1 Macs on Home-brew. Installation didn’t go as smoothly as I expected so I thought I’d outline the process I went through.
Installing Homebrew on M1 Mac
The install script is available here https://brew.sh
|
1 2 |
/bin/bash -c "$(curl -fsSL https://raw.githubusercontent.com/Homebrew/install/HEAD/install.sh)" |
This ran as expected but when I looked I could not see the usual installation. It turns out this script installs Homebrew to its preferred prefix (/usr/local for macOS Intel, /opt/homebrew for App..le Silicon). I presume this is so folks can have a separate installation for Rosetta. You can see the hidden folders in the Finder by pressing “Shift-Command-.” (Shift and Apple keys and full-stop).
So I checked that my PATH included the correct folder.
|
1 2 3 |
echo $PATH /Users/chrisswain/miniconda3/bin:/Users/chrisswain/miniconda3/condabin:/opt/homebrew/bin:/opt/homebrew/sbin:/usr/local/bin:/usr/bin:/bin:/usr/sbin:/sbin:/opt/X11/bin:/Library/Apple/usr/bin:/Applications/moe2020/bin:/Applications/moe2020/bin |
Then searched for Pymol
|
1 2 3 4 |
brew search pymol ==> Formulae brewsci/bio/pymol |
Then tried to install
|
1 2 |
brew install pymol |
And got this error
|
1 2 3 4 5 6 7 8 9 |
Installing pymol from brewsci/bio ==> Installing dependencies for brewsci/bio/pymol: cmake, ninja, icu4c, boost, msgpack-cxx, brewsci/bio/mmtf-cpp, catch2, brotli, giflib, imath, jpeg, libpng, openexr, libtiff, webp, jpeg-xl, libvmaf, aom, dav1d, freetype, fontconfig, frei0r, ca-certificates, gmp, bdw-gc, libffi, m4, libtool, libunistring, pkg-config, readline, guile, gettext, libidn2, libtasn1, nettle, p11-kit, openssl@1.1, libevent, libnghttp2, unbound, gnutls, lame, fribidi, pcre, gdbm, mpdecimal, sqlite, xz, python@3.9, glib, libpthread-stubs, xorgproto, libxau, libxdmcp, libxcb, libx11, libxext, libxrender, lzo, pixman, cairo, gobject-introspection, graphite2, harfbuzz, libass, libbluray, cjson, cmocka, mbedtls, librist, libsoxr, libvidstab, libogg, libvorbis, libvpx, opencore-amr, little-cms2, openjpeg, opus, rav1e, flac, libsndfile, libsamplerate, rubberband, sdl2, snappy, speex, srt, leptonica, tesseract, theora, x264, x265, xvid, libsodium, zeromq, zimg, ffmpeg, libxfixes, libxi, libxrandr, libxxf86vm, expat, libxdamage, mesa, freeglut, glew, glm, libxml2, isl, mpfr, libmpc, zstd, gcc, szip, hdf5, netcdf, openblas, numpy, qt@5, pyqt@5 and sip Installing brewsci/bio/pymol dependency: brewsci/bio/mmtf-cpp Error: An exception occurred within a child process: RuntimeError: /opt/homebrew/opt/cmake not present or broken Please reinstall cmake. Sorry :( |
So uninstalled cmake and reinstalled.
|
1 2 3 4 5 6 |
brew uninstall cmake brew install cmake brew install pymol |
All seemed to work fine
Then in Terminal type pymol
|
1 |
pymol |
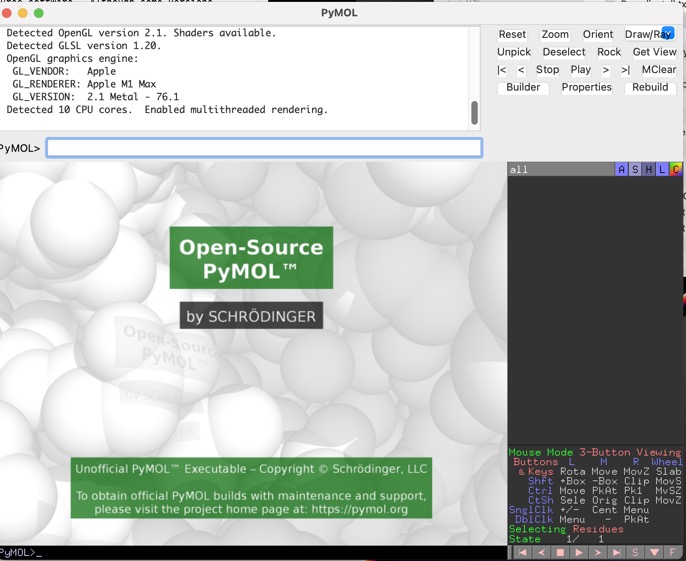
I tried a few simple tasks
Open a local copy of 3j3q.cif
Intel MacBook Pro took 16 seconds
M1 MacBook Pro took 6 seconds
M2 Mac Studio Ultra took 6 seconds
Create surfaces and export as POV-Ray
Imported a local copy of 7n30, added hydrogens and coloured ribbon by secondary structure.
Added surface
Intel MacBook Pro took 54 seconds
M1 MacBook Pro took 36 seconds
M2 Mac Studio Ultra took 29 seconds
Export to POV-Ray
Intel MacBook Pro took 23 seconds
M1 MacBook Pro took 13 seconds
M2 Mac Studio Ultra took 10 second
List of tools tested https://macinchem.co.uk/software-reviews/cheminformatics-and-compchem-on-apple-silicon/
Last update 14 December 2021